.webp)
Definition of Endodontics and Root Canal Treatment
Endodontics is a specialized field of dentistry focused on diagnosing and treating issues related to the dental pulp, which is the innermost part of the tooth containing nerves and blood vessels. Root canal treatment, also known as endodontic therapy, is a procedure aimed at saving a tooth that has been severely damaged or infected. This treatment involves removing the infected or damaged pulp, cleaning and shaping the root canals, and sealing the tooth to prevent further infection.
Root canal treatment is often misunderstood and feared by many patients due to common misconceptions. However, this procedure is designed to relieve pain and save natural teeth, offering a much better alternative to tooth extraction. Root canal treatment has evolved significantly over the years, and with advancements in dental technology, it has become a routine procedure with a high success rate.
Common Misconceptions About Root Canal Procedures
One of the most prevalent misconceptions about root canal treatment is that it is extremely painful. In reality, the procedure itself is extremely painless, thanks to modern anesthetics and techniques. The discomfort associated with root canals is often due to the infection that necessitates the procedure, rather than the treatment itself.
Another misconception is that root canal treatment is a lengthy and complicated process. While it may require multiple visits in some cases, many root canals can be completed in a single appointment. The procedure is straightforward for experienced root canal specialists, and the advancements in technology have made it more efficient and effective.
Importance of Root Canal Treatment in Saving Natural Teeth
Saving a natural tooth is always preferable to extraction, and root canal treatment is a key procedure in achieving this goal. When the dental pulp becomes infected or damaged, the tooth can become extremely painful and may eventually die if left untreated. Root canal treatment allows the tooth to be preserved by removing the infected tissue and sealing the tooth to prevent further damage.
By saving the natural tooth, patients can maintain proper oral function, avoid the need for more invasive procedures such as dental implants or bridges, and preserve the natural appearance of their smile.
Brief Overview of Dazzle Dental Clinic's Expertise in Endodontics
Dazzle Dental Clinic in Mumbai has established itself as a leader in endodontic care, offering state-of-the-art technology and a team of highly skilled root canal specialists. The clinic's expertise in root canal treatment ensures that patients receive the highest quality care with minimal discomfort. With a commitment to patient satisfaction and long-term dental health, Dazzle Dental Clinic is the go-to destination for those in need of endodontic treatment. After root canal treatment, protecting the tooth with a ceramic or zirconia crown is an integral part of the complete treatment plan.
Diagnosis and Preparation
Signs and Symptoms That May Indicate the Need for a Root Canal
The need for a root canal is usually indicated by specific symptoms that suggest the dental pulp is infected or damaged. Common signs include severe toothache especially when chewing or applying pressure; prolonged sensitivity to hot or cold temperatures; discoloration or darkening of the tooth; swelling and tenderness in the nearby gums; and a persistent or recurring pimple on the gums.
These symptoms should not be ignored, as they may indicate a serious infection that requires prompt treatment to save the tooth.
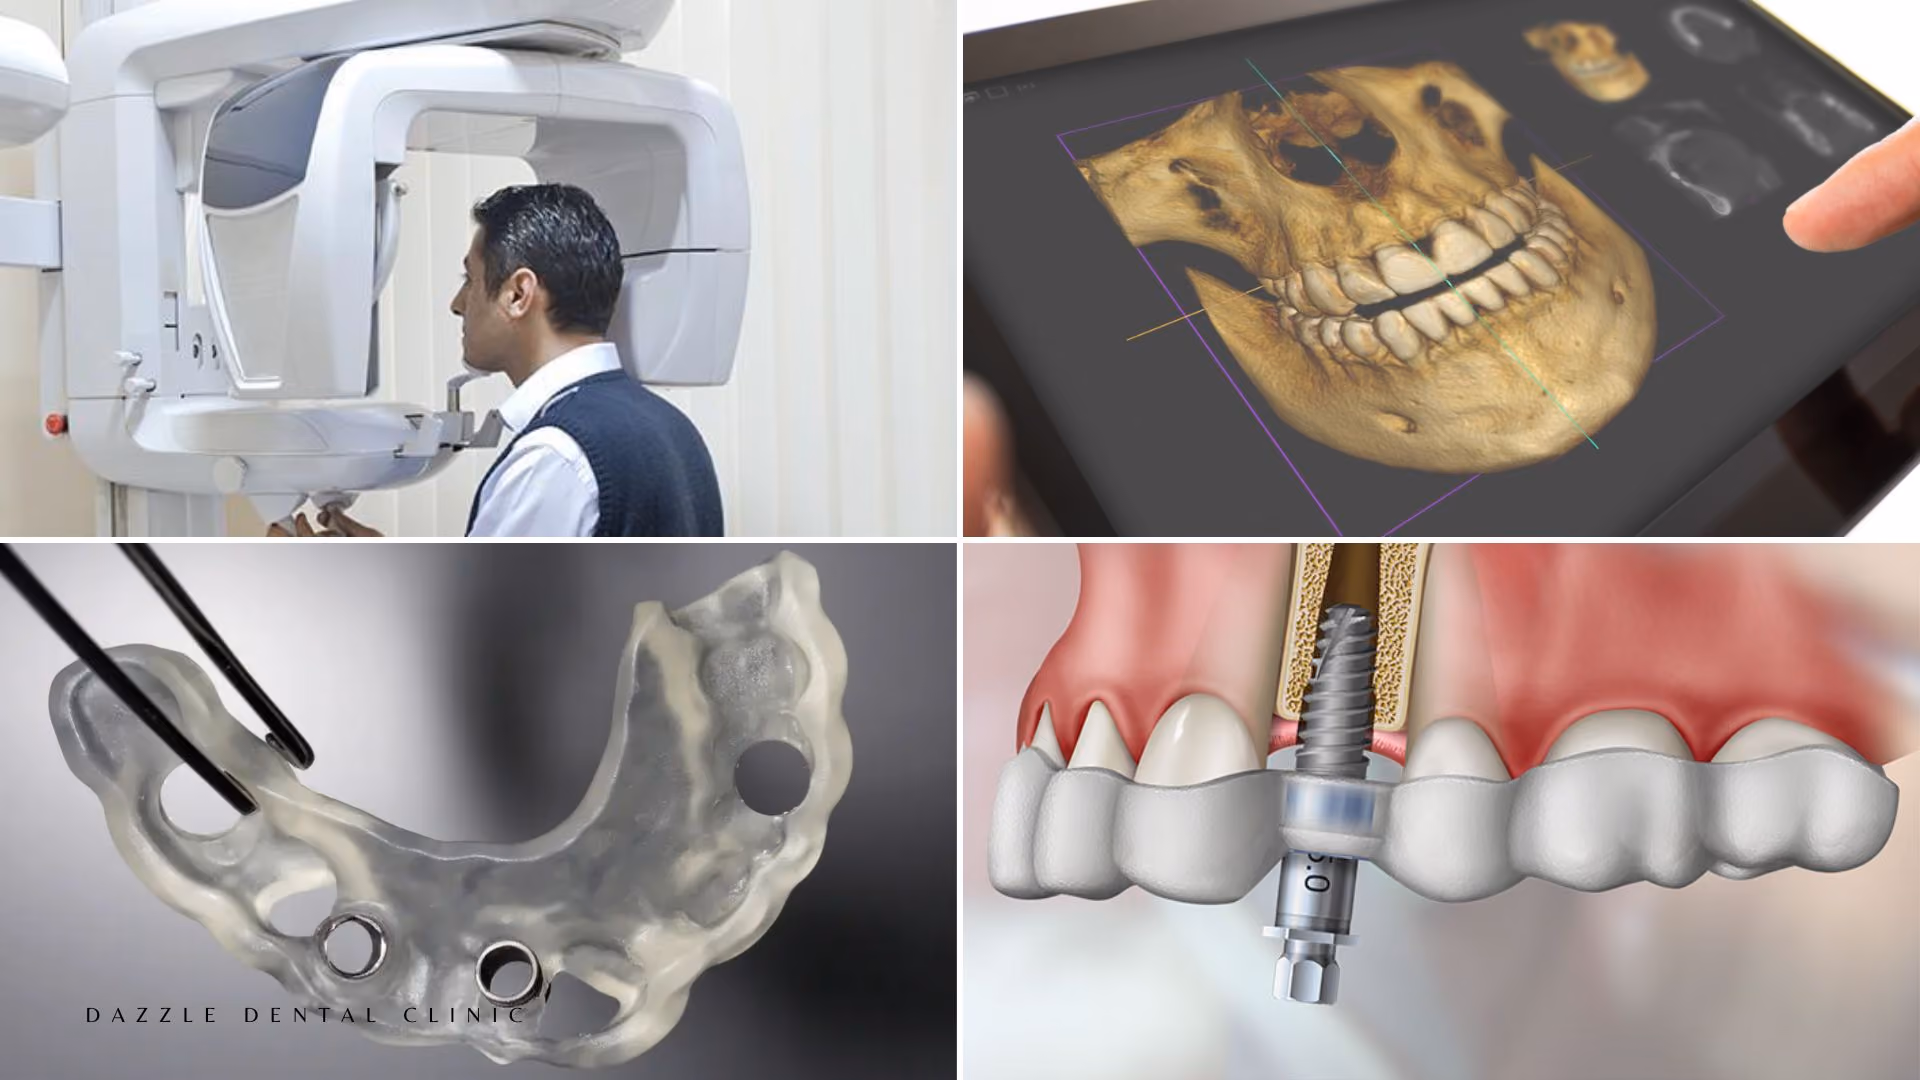
Diagnostic Tools Used by Root Canal Specialists (X-rays, Pulp Tests)
To accurately diagnose the need for a root canal, root canal specialists use several diagnostic tools. X-rays are essential for visualizing the tooth's structure and assessing the extent of the infection. They help the dentist determine the shape and length of the root canals and identify any signs of bone loss around the tooth's root.
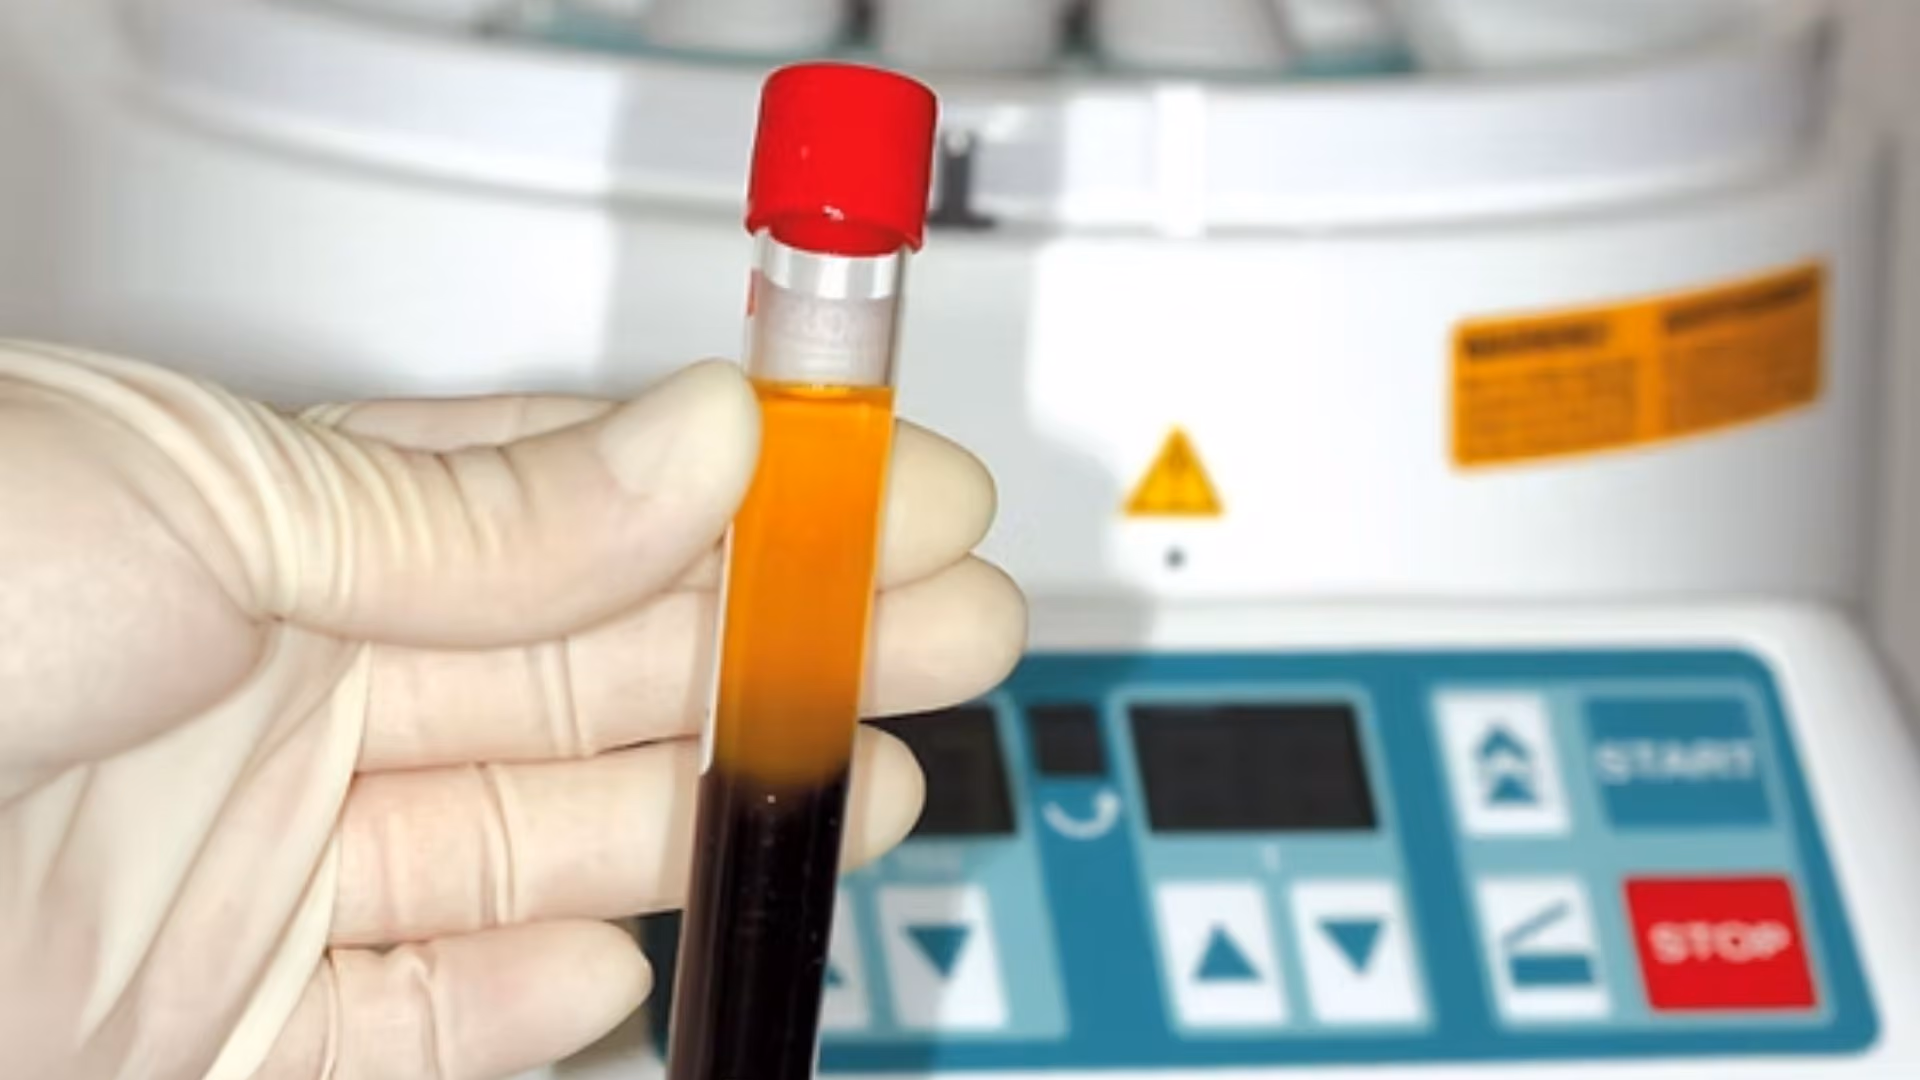
Pulp tests are also conducted to evaluate the health of the dental pulp. These tests may involve applying cold or heat to the tooth to see if it reacts, indicating whether the pulp is still alive or if it has become necrotic.
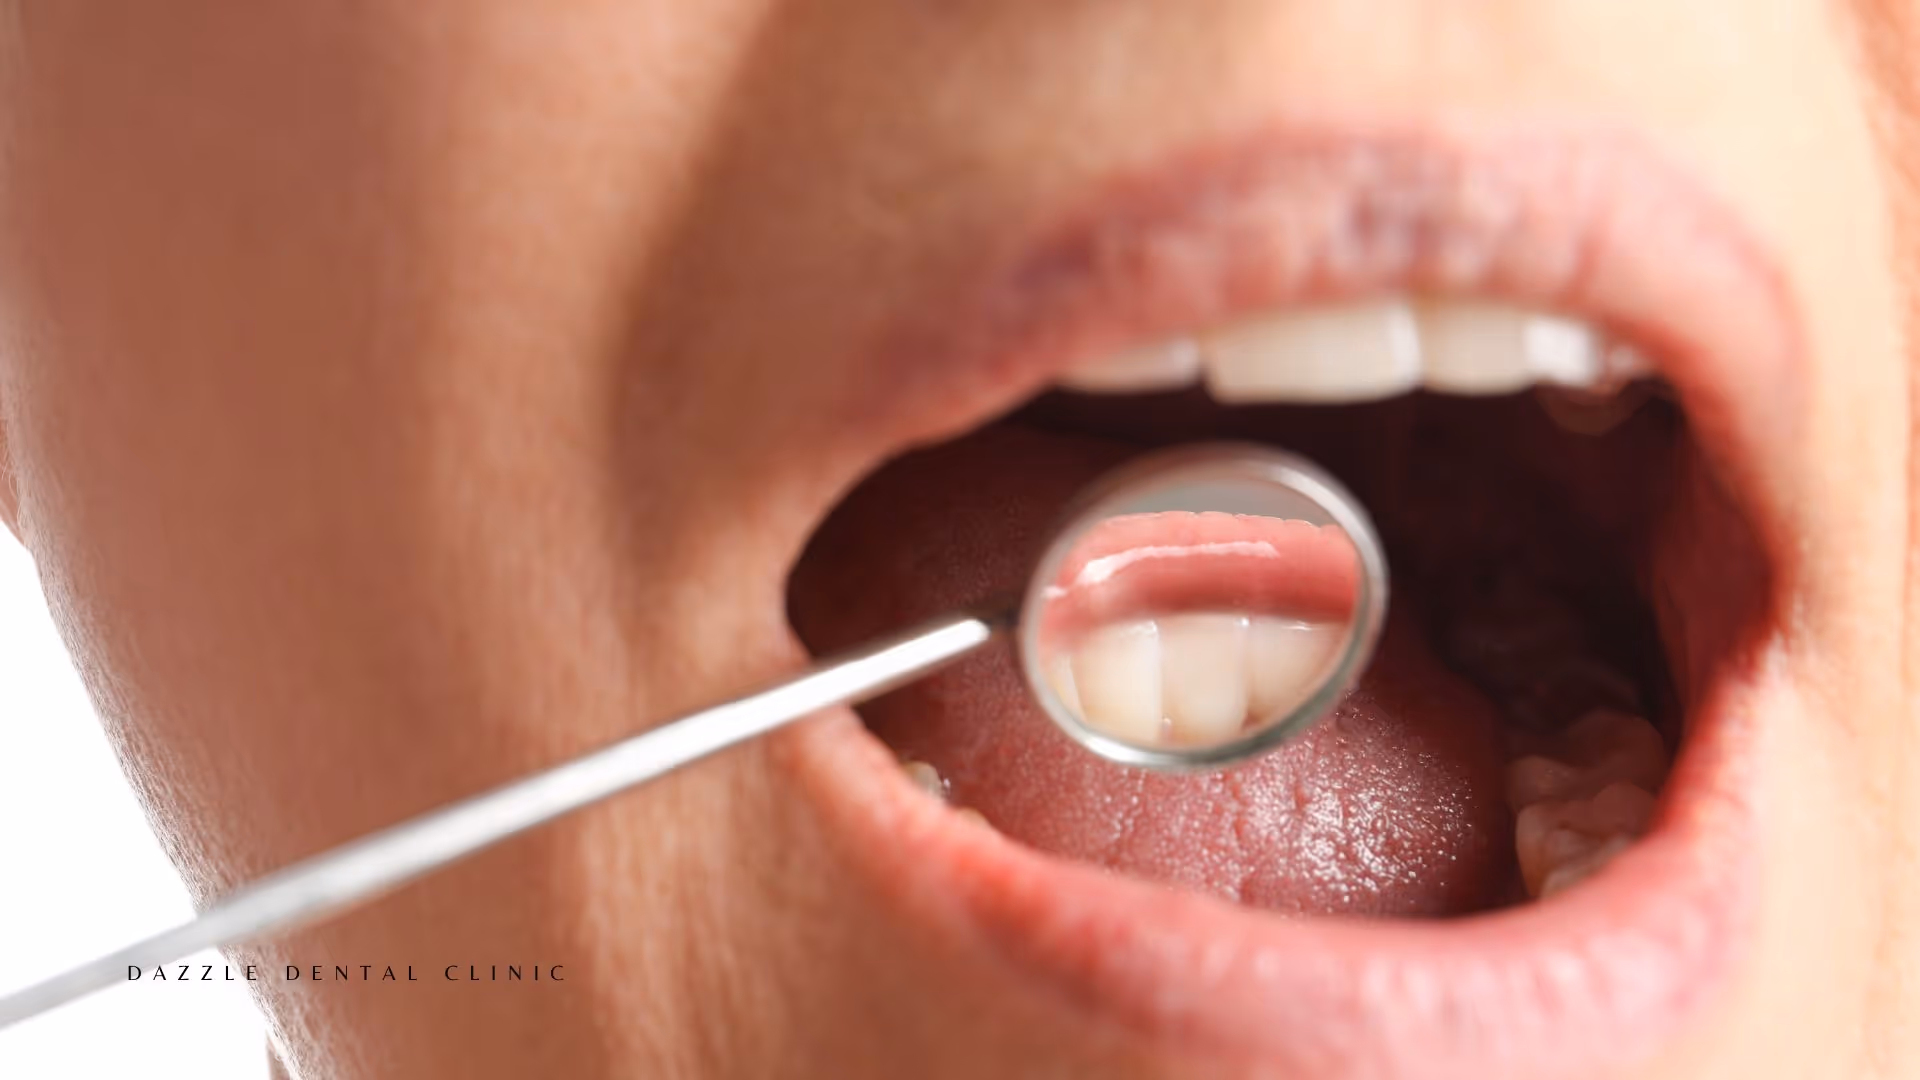
Initial Consultation and Treatment Planning
During the initial consultation, the dentist will review the patient's symptoms and medical history, conduct a thorough examination, and take X-rays to assess the condition of the tooth. Based on the findings, a personalized treatment plan will be developed, outlining the steps of the procedure, the expected outcome, and any potential risks.
Preparing the Patient for the Procedure
Before the root canal procedure begins, the patient is prepared to ensure comfort and minimize any potential complications. This preparation includes administering local anesthesia to numb the tooth and surrounding area, explaining the procedure steps to the patient, and discussing any post-treatment care instructions. At Dazzle Dental Clinic, patient comfort is a top priority, and every effort is made to ensure a relaxed and pain-free experience.
Step 1: Anesthesia and Tooth Isolation
Administration of Local Anesthesia
The first step in the root canal procedure is administering local anesthesia to numb the tooth and the surrounding area. This ensures that the patient does not feel pain during the procedure. The anesthetic is injected into the gums near the affected tooth, and within minutes, the area becomes numb. In some cases, especially for patients with dental anxiety, sedation options may be offered to help them relax during the procedure.
Use of Dental Dam to Isolate the Tooth
Once the anesthesia has taken effect, a dental dam is placed over the tooth to isolate it from the rest of the mouth. The dental dam is a small sheet of latex or a similar material that prevents saliva from contaminating the tooth during the procedure. It also keeps the area dry and provides a clean working environment for the dentist.
Patient Comfort Measures During This Stage
Throughout the procedure, the root canal specialist and dental team at Dazzle Dental Clinic take special care to ensure the patient's comfort. The use of local anesthesia, a calm and reassuring approach, and the availability of sedation options all contribute to a positive experience for the patient.
Step 2: Accessing the Pulp Chamber
Once the tooth is isolated and the area is numb, the dentist begins the process of accessing the pulp chamber using a dental drill. Any decay or damaged tooth structure is carefully removed. Locating and identifying root canals is a critical part of the procedure — dental microscopes and advanced imaging techniques at Dazzle provide a magnified view to locate even the most complex root canals. All canal systems must be treated to ensure the infection is fully eradicated.
Step 3: Cleaning and Shaping the Root Canals
The infected or necrotic pulp tissue is removed using endodontic files, which are inserted into the canals. The root canals are thoroughly cleaned and disinfected to eliminate any remaining bacteria. They are then shaped and enlarged using progressively larger endodontic files, creating a smooth and uniform space for filling. Irrigation with a disinfecting solution ensures any remaining debris is flushed away.
Step 4: Filling and Sealing the Root Canals
Once the root canals are clean and properly shaped, they are filled with gutta-percha — a biocompatible, rubber-like substance — and sealed with dental cement to prevent bacteria from re-entering the tooth. Post-treatment X-rays verify the canals are thoroughly filled and sealed.
Step 5: Restoration and Crown Placement
After the root canals are filled, a temporary filling closes the access hole. A permanent restoration — typically a ceramic or zirconia crown — is then placed to protect the tooth, restoring its function and appearance. With proper care, a crowned root canal treated tooth can last a lifetime.
Post-Treatment Care and Recovery
After the procedure, mild discomfort or sensitivity is normal as the anesthesia wears off, usually manageable with over-the-counter pain relievers. Maintain good oral hygiene: brush and floss regularly, and avoid chewing on hard foods with the treated tooth until a permanent restoration is in place. Follow-up appointments are essential to monitor healing and ensure the permanent restoration is intact. If you suspect you may need a root canal or have been experiencing any of the symptoms discussed in this guide, schedule a consultation with Dazzle Dental Clinic. Early intervention can save your tooth and prevent further complications.